How to Change Cell Size in Google Sheets
Dec 24, 2024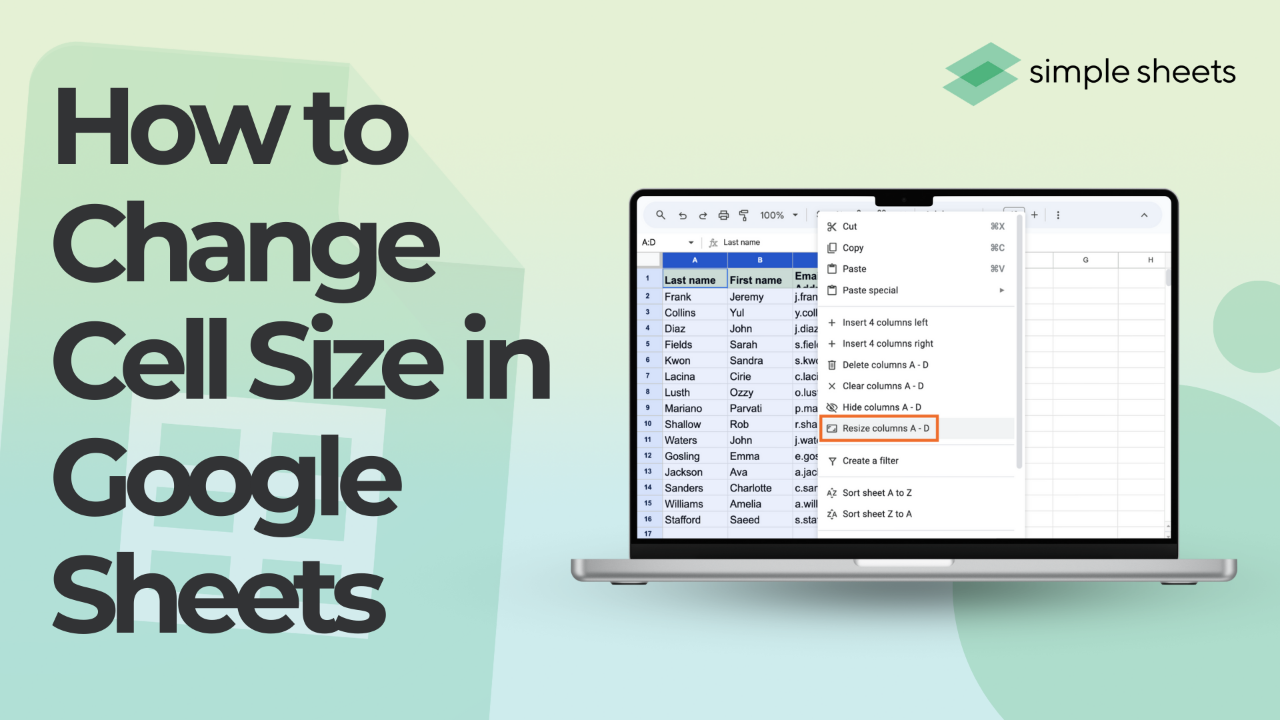
Quick answer: To change cell size in Google Sheets, select the row numbers or column letters you want to change, right click, and choose Resize rows or Resize columns. Enter a pixel value, or pick Fit to data. Google Sheets sizes whole rows and columns, so one cell on its own cannot be resized.
Last updated: August 18, 2026
Google Sheets picks a default size for every row and column, and that default rarely matches your data. Text gets cut off, headers wrap into three lines, and a printed sheet looks messy. This guide covers every way to resize, including the cases that usually go wrong: resizing dozens of rows at once, making everything a uniform size, and figuring out why one stubborn row will not move.

Get our free Excel formulas cheat sheet
Plus new tutorials and template drops. Enter your email and we'll send it over.
What this guide covers
- Can you resize a single cell in Google Sheets?
- How do you resize a row or column by dragging?
- How do you autofit a column or row to its data?
- How do you set an exact pixel size?
- How do you resize multiple rows or columns at once?
- How do you make all cells the same size?
- Resizing vs wrapping vs clipping: which one do you actually need?
- Why will my row or column not resize?
- How do you merge cells to create one larger block?
- How do you resize cells on the Google Sheets mobile app?
- How do you reset rows and columns to the default size?
- Frequently asked questions
Can you resize a single cell in Google Sheets?
No. Google Sheets has no concept of an individual cell size. Height belongs to the row and width belongs to the column, so changing cell B4 changes every cell in row 4 and every cell in column B along with it.
That single fact explains most of the confusion people run into. If you genuinely need one box that is bigger than its neighbours, you have two options: merge a block of cells, or leave the row and column alone and let the text wrap inside the cell. Both are covered below.
The rule: in Google Sheets you resize rows and columns, never cells. A cell is just the intersection of the two.
How do you resize a row or column by dragging?
Dragging is the fastest method when you only need it to look right, not to match an exact number.
Adjusting row height
-
Select the row or rows you want to resize by clicking the row numbers on the left edge of the sheet.
-
Hover over the bottom boundary of the row header, the horizontal line just below the number.
-
When the cursor turns into a double sided arrow, click and hold.

-
Drag up or down to shrink or grow the row.

-
Release when it looks right. If the goal was to fit long text, text wrapping often works better than a taller row.

Adjusting column width
-
Select the column or columns by clicking the column letters along the top.
-
Move the cursor to the right edge of the column header, the vertical line next to the letter.

-
Click and hold when the cursor becomes a double sided arrow.
-
Drag left to narrow the column or right to widen it.
-
Release to apply.

The rule: drag the header boundary, not the cell border. Dragging inside the grid moves data instead of resizing it.
How do you autofit a column or row to its data?
Autofit is the one most people are hunting for when they search for automatic column width. Google Sheets sizes the column or row to its longest entry, and it takes one action.
-
For columns: double click the right boundary of the column header. The width snaps to the longest value in that column.
-
For rows: double click the bottom boundary of the row header. The height snaps to the tallest content in that row.
There is a menu route to the same result, and it is the better one when you want to autofit a large block. Select the columns, right click a column letter, choose Resize columns, then pick Fit to data instead of typing a number. That applies autofit to every selected column in one pass, which double clicking cannot do.
One important limit: autofit measures content, not headers you wish were shorter. If a single cell holds a 300 character paragraph, autofit will produce a comically wide column. In that situation, wrap the text and set a fixed width instead.
The rule: double click for one column, and use Resize columns then Fit to data when you need autofit across many columns at once.
How do you set an exact pixel size?
When you are building a template, a calendar, a planner, or anything that needs to print cleanly, exact numbers beat dragging.
-
Right click the row numbers or column letters you want to change.
-
Choose Resize row or Resize column. The wording becomes Resize rows or Resize columns when more than one is selected.

-
Type the size in pixels. The dialog also offers Fit to data if you would rather autofit.

-
Click OK.

Useful reference points when you are picking a number:
| Dimension | Google Sheets default | Typical comfortable value |
|---|---|---|
| Row height | 21 pixels | 28 to 40 pixels for readable data rows |
| Column width | 100 pixels | 140 to 200 pixels for names and descriptions |
| Header row | 21 pixels | 40 to 60 pixels with wrapped text |
The rule: the resize dialog is the only place Google Sheets accepts a number, and it always works in pixels, never points or characters.
How do you resize multiple rows or columns at once?
This is where a lot of time gets lost, because most people resize one row, then the next, then the next. Google Sheets applies a resize to everything you have selected, so the selection step is the whole trick.
-
A contiguous block: click the first row number, hold Shift, click the last row number. Every row in between is selected.
-
Scattered rows: hold Ctrl on Windows or Cmd on Mac and click each row number you want.
-
The entire sheet: click the blank grey square in the top left corner where the row numbers and column letters meet, or press Ctrl + A.
With the selection made, drag any one boundary inside it, or right click and use Resize rows. Either way the change applies to all of them at the same time.
Dragging a boundary while several rows are selected is the fastest uniform resize in Google Sheets, because every selected row jumps to the height you drag to rather than only the one you grabbed.
The rule: select first, resize second. Any resize action applies to the whole selection, not just the row or column you clicked.
How do you make all cells the same size?
To make every cell in a sheet identical, you set one row height and one column width across the full grid.
-
Click the grey corner square above row 1 and to the left of column A to select the entire sheet.
-
Right click any row number and choose Resize rows. Enter your height, for example 30, and click OK.
-
Right click any column letter and choose Resize columns. Enter your width, for example 100, and click OK.
Every cell in the sheet is now the same size. If you want square cells, use the same number for both, keeping in mind that a row height of 30 and a column width of 30 will look square on screen but will still print according to your page setup.
One caveat worth knowing before you do this on a live sheet: a sheet wide resize also flattens any custom heights you set earlier for headers or spacer rows. Resize the headers again afterwards, or select only the data rows in step 2 rather than the whole sheet.
The rule: uniform sizing is one row resize plus one column resize applied to the whole sheet, not a repeated per row edit.
Resizing vs wrapping vs clipping: which one do you actually need?
A surprising share of resizing problems are not resizing problems. When text does not appear the way you expect, the cause is usually the overflow setting, not the column width. Google Sheets gives every cell three text behaviours, found under Format then Wrapping, or on the toolbar wrap icon.
| Setting | What happens to long text | Effect on row height | Best used for |
|---|---|---|---|
| Overflow (default) | Spills across the neighbouring cells to the right, but only while those cells are empty | None. Row height never changes | Titles and notes sitting in otherwise empty rows |
| Wrap | Breaks onto multiple lines inside the same cell | Row grows taller automatically to fit the wrapped lines | Descriptions, addresses, and long column headers |
| Clip | Cut off at the cell edge. The full value is still stored and still shows in the formula bar | None | Tidy printed sheets and dashboards where ragged text looks wrong |
Two practical consequences. First, if your text suddenly stopped spilling over, you did not lose data, a neighbouring cell simply got filled and switched the display to a clipped look. Second, if a row keeps growing taller on its own no matter what height you set, that row contains wrapped text, which is covered in the next section.
For the full walkthrough of the wrapping options, see our guide to wrapping text in Google Sheets.
The rule: resize changes the container, wrapping changes how text behaves inside it. Fix the wrapping setting before you fight the width.
Why will my row or column not resize?
When a resize refuses to stick, it is nearly always one of these five causes.
The row contains wrapped text
A row set to Wrap enforces a minimum height tall enough to show every wrapped line. Shrink it and it springs back. Fix it by widening the column, shortening the text, or switching that cell to Clip.
The cells are merged
Merged cells span rows or columns, and Google Sheets will not let you resize a boundary that runs through the middle of a merge. Select the merged block, click the merge button to unmerge, resize, then merge again if you still need it.
You are dragging inside a filtered view
Filtered and hidden rows are still there. If you select a range that includes hidden rows and resize, the hidden rows change too, which can make the visible result look wrong. Clear the filter, resize, then reapply it.
The rows or columns are frozen
Frozen rows and columns sit in a separate pane with its own divider. Grabbing the thick freeze bar instead of the header boundary moves the freeze line rather than resizing anything. Zoom in or unfreeze temporarily under View then Freeze, resize, then freeze again.
The sheet is protected or you have view only access
If the file was shared with you as Viewer or Commenter, or the range is protected, resizing is blocked entirely. Ask the owner for edit access, or use File then Make a copy to get an editable version. Google's own reference on resizing, inserting, deleting, hiding and freezing rows and columns confirms the behaviour of these controls.
The rule: if a row snaps back to a taller height every time, the cause is wrapped text. If the boundary will not move at all, the cause is a merge, a freeze, or permissions.
How do you merge cells to create one larger block?
Merging cells is the only real way to make one box bigger than its neighbours. It suits titles, banners, and section headers, and it is worth using sparingly because merged ranges interfere with sorting, filtering, and many formulas.
-
Select the cells you want to merge by clicking and dragging across them.
-
On the toolbar, click the Merge cells button, the square divided into four smaller squares.

-
Choose a merge option:
-
Merge all: combines the whole selection into one cell.
-
Merge horizontally: merges each row of the selection separately, left to right.
-
Merge vertically: merges each column of the selection separately, top to bottom.

-
-
The cells become one larger cell you can format and fill.

The rule: merging keeps only the top left value and discards the rest, so copy anything you need out of the other cells first.
How do you resize cells on the Google Sheets mobile app?
The mobile app can resize, but the gesture is different because there is no boundary small enough to grab reliably with a finger.
-
Tap the row number or column letter once. A blue selection bar appears with round handles.
-
Tap the same header again to open the context menu, then choose Resize row or Resize column.
-
Drag the slider, or pick Fit to data, then tap the tick to confirm.
You can also drag the handle at the edge of the selected header directly, which is quicker once you have the header selected. To resize several rows, drag the selection handle across the range first, then use the same menu.
The rule: on mobile you must select the row or column header before you can resize it. There is no drag the boundary shortcut.
How do you reset rows and columns to the default size?
Google Sheets has no reset to default command, so you set the defaults back manually. Select the whole sheet with the corner square, right click a row number, choose Resize rows, enter 21, and click OK. Repeat with a column letter and 100. That returns the grid to the sizes a brand new sheet uses.
If you only want to undo a resize you just made, Ctrl + Z is faster and preserves everything else.
The rule: 21 pixels tall and 100 pixels wide are the Google Sheets defaults, and typing them back is the only way to reset.

Final thoughts
Almost every sizing question in Google Sheets comes back to the same three tools. Double click a boundary when you want it to fit the data, use the resize dialog when you want an exact number, and select a whole block before resizing when you want everything to match. The rest is knowing that wrapped text, merged cells, and frozen panes are the usual reasons a row refuses to cooperate.
For more easy-to-follow spreadsheet guides and the latest Excel and Google Sheets templates, visit Simple Sheets and the related articles below.
Subscribe to Simple Sheets on YouTube for the most straightforward spreadsheet video tutorials.
Frequently asked questions
Can I resize just one cell in Google Sheets?
No. Height belongs to the row and width belongs to the column, so any size change affects the whole row or column. To get a single larger box, merge a block of cells instead.
How do I make all cells the same size in Google Sheets?
Click the grey corner square to select the entire sheet, right click a row number and choose Resize rows, enter a height, then right click a column letter, choose Resize columns, and enter a width. Every cell in the sheet becomes identical.
How do I make a column automatically fit the text?
Double click the right boundary of the column header. To autofit several columns at once, select them, right click a column letter, choose Resize columns, and pick Fit to data.
Why does my row keep getting taller on its own?
That row contains a cell set to wrap text. Wrapping forces a minimum height tall enough to show every line. Widen the column, shorten the text, or change that cell to Clip.
Why can I not resize a row or column at all?
The most common causes are merged cells crossing the boundary, a frozen pane divider being grabbed instead of the header edge, or view only access on a shared file. Unmerge, unfreeze, or request edit access.
What is the default row height and column width in Google Sheets?
A new sheet uses a row height of 21 pixels and a column width of 100 pixels. Entering those values in the resize dialog is how you reset a sheet back to default.
Will merging cells delete my data?
Merging keeps only the value in the top left cell and discards the rest. Copy any data you need out of the other cells before you merge.
Does resizing a row change how it prints?
Yes. Print output follows the on screen row heights and column widths, adjusted by the scale setting in File then Print. If a sheet prints cramped, resize the rows before changing the print scale.
Get our free Excel formulas cheat sheet
Plus new tutorials and template drops. Enter your email and we'll send it over.
Related Articles
How to Use the IF Function in Google Sheets
Mastering the ARRAYFORMULA in Google Sheets
How to Add Error Bars in Google Sheets
How to Wrap Text in Google Sheets
Want to Make Excel Work for You? Try out 5 Amazing Excel Templates & 5 Unique Lessons
We hate SPAM. We will never sell your information, for any reason.